Monday, December 22, 2014

Anastasia Beverly Hills Single Eyeshadows

Hello makeup lovers!
http://anastasiabeverlyhills.com/eyeshadow-palette-8-well.html/
http://anastasiabeverlyhills.com/
Click the images to see Anastasia Beverly Hills website
You might have heard of Anastasia Beverly Hills brow products before. They are really known for their brow line, but recently they launched some amazing single eyeshadows! Some of these eyeshadows have been available previously in palettes by Anastasia. You can now get them in a larger size pan! I have been wearing these babies every day since I got them!
These eyeshadows launched on November 18th and are available to purchase on the Anastasia Beverly Hills website (http://anastasiabeverlyhills.com/). The price of one eyeshadow is $12 which is a bit spendy. But the bundle prices are 4 shadows for $40 ($10 each), or 8 shadows for $70 ($8.75 each). So I got a bundle of 8 and ordered one additional shadow because I qualified for free shipping and then got an additional 10% coupon for signing up for their emails.
So, there are eight different classifications of eyeshadows: Titanium, Duo Chrome, Ultra-Matte, Metallic, Satin, Shimmer, Sparkle, and Velvet. If you want to learn in detail what the differences are in these types, and see swatches of every eyeshadow watch Norvina Sun's YouTube channel! She created these shadows and she's also incredibly talented and beautiful. 
 Note: These swatches were done with no primer! Just shows how awesome they really are!

These colors from left to right are are Electro, Iridescent Purple, Opaline, and Rosette. These are my 'purple' shadows.
Electro is classified as a Due Chrome meaning it puts off two different colors. It is bright purple with blue iridescence. 
http://anastasiabeverlyhills.com/eyeshadow-singles.html

Iridescent purple is classified as a Duo Chrome; purple with blue iridescence. 
http://anastasiabeverlyhills.com/eyeshadow-singles.html

Opaline is classified as a Duo Chrome; bright violet with magenta iridescence. 
http://anastasiabeverlyhills.com/eyeshadow-singles.html

Rosette is classified as a Titanium; rich burgundy.
http://anastasiabeverlyhills.com/eyeshadow-singles.html

Here are the other 5 swatched: 

These colors from left to right are Metal, Pink Champagne, Mermaid, Dragonfly, and Dusty Rose. 
The Titanium shadows are probably my favorites! 
Metal is classified as a Titanium (shimmer off the chain); silver gold. 
http://anastasiabeverlyhills.com/eyeshadow-singles.html

Pink Champagne is classified as a Titanium; pink beige with shimmer. 
http://anastasiabeverlyhills.com/eyeshadow-singles.html

Mermaid is classified as a Titanium; shimmery deep teal.
http://anastasiabeverlyhills.com/eyeshadow-singles.html

Dragonfly is classified as a Duo Chrome; iridescent blue with purple.
http://anastasiabeverlyhills.com/eyeshadow-singles.html

Dusy Rose is classified as a Velvet; light lilac brown. 
http://anastasiabeverlyhills.com/eyeshadow-singles.html
I am so in love with these shadows! I even asked for four more for Christmas! I would definitely recommend these. I would also highly recommend getting them in a bundle because the price is so much better that way. So save your pennies and try some of these! Don't forget to check out Norvina Sun on YouTube for in-detail information about each individual shadow. These are very pigmented and fun to play with! Also you can follow us on Pinterest, Twitter, Facebook, and Instagram!
Thanks for stopping by! Merry Christmas :) This post is not sponsored. 

http://instagram.com/chelseeparker77

Wednesday, November 19, 2014

Plaid Flannel OOTD

I love fall!

Flannel is back this year and I am so happy about it. I love how perfect it is for fall and so comfortable. I am gathering a collection of plaid flannel shirts! I have purchased one from Aeropostale and a few from Target. I know Old Navy had cute and affordable ones as well. Not all of them are actual flannel, but they are just cute :)


I decided to do a pretty simple look for this first OOTD! The shirt I'm wearing here is from Target along with the boots. Jeans are from Buckle (Rock Revival) and the navy tank top is from Hollister. Necklace is from Claire's for the Katy Perry Prism collection. I love this look for fall because it's casual while still cute at the same time. My hair was curled from the day before so I just braided it into a loose braid. 


I decided to go with a sort of pink and cranberry colored makeup look using the Urban Decay Naked3 palette. Lashes are by Salon Perfect and they are the Demi Wispies (love). The lip color is by NYX and I am planning on doing a review of this and a few other lip colors by NYX in an upcoming post :)


 Of course I had to show off the new little addition to our family! We named him Cerbal after my sister rescued him. How cute is he? So so playful! As you might know, I seriously love animals.


Thanks for checking out this simple, casual, and affordable OOTD! I hope you liked it, there will be more to come! Computer hugs because I love this time of year!


http://instagram.com/chelseeparker77

Thursday, October 23, 2014

Easy Detox Drink

The Simple, Easy Detox Drink
We have all heard of it, the dreadful detox. It sounds absoluetly miserable to be on a liquid diet for days. I found this little recipe for a single detox drink on Facebook. I have tried this three times only one meal a day. Some benefits to detoxing are it helps boost energy, rids the body of excess waste, helps with weight loss, helps build stronger immune system, improves skin, improves breath, promotes healthy diet changes, helps you think more clearly, gives you a lighter feeling, provides anti-aging benefits, and an improved sense of well-being according to bembu.com.
This is the recipe. How simple is this?! I had all of these ingredients already. This is so convenient for me because, as you know from a previous blog, I drink apple cider vinegar every day for its health benefits. Apple cider vinegar does not taste great on its own; this way, I can get the ACV (apple cider vinegar) I want without the awful taste! Of course you shouldn't detox every day. I would drink this when I am feeling I have been eating bad or my digestive system isn't working properly.


Here are the exact ingredients I used. One alteration I would recommend is to add less cinnamon. When I finished the drink after continuous shaking there was a lot of excess cinnamon on the bottom (and I don't care to do the cinnamon challenge). I think this tastes pretty good. I do put it in my shaker as I said and keep shaking it as I drink. You should drink this pretty fast and on it's own. I would also recommend 16 oz of water to really blend all of the ingredients, especially if you are skeptical about tasting the ACV. I couldn't taste the ACV when I drank this. 
http://www.blenderbottle.com/blenderbottle-classic.html?gclid=CM3YqvG4lcQCFZBafgodZ2gA3w
Here is the finished result (click here to buy blender bottle). So, just blend, drink & enjoy! Let us know about your experience with this!
http://instagram.com/chelseeparker77

Brushes for Flawless Foundation: Sigma

If you haven't ever tried using a brush to apply your foundation you are missing out! Using a brush helps to really smooth the foundation and apply it into your skin for longer lasting coverage. I was introduced to this brand, Sigma, by the YouTube beauty blogger, Jaclyn Hill (she is one my favorite makeup artists on YouTube). The quality of these brushes is amazing! These brushes have been compared to MAC brushes as an exact dupe. 
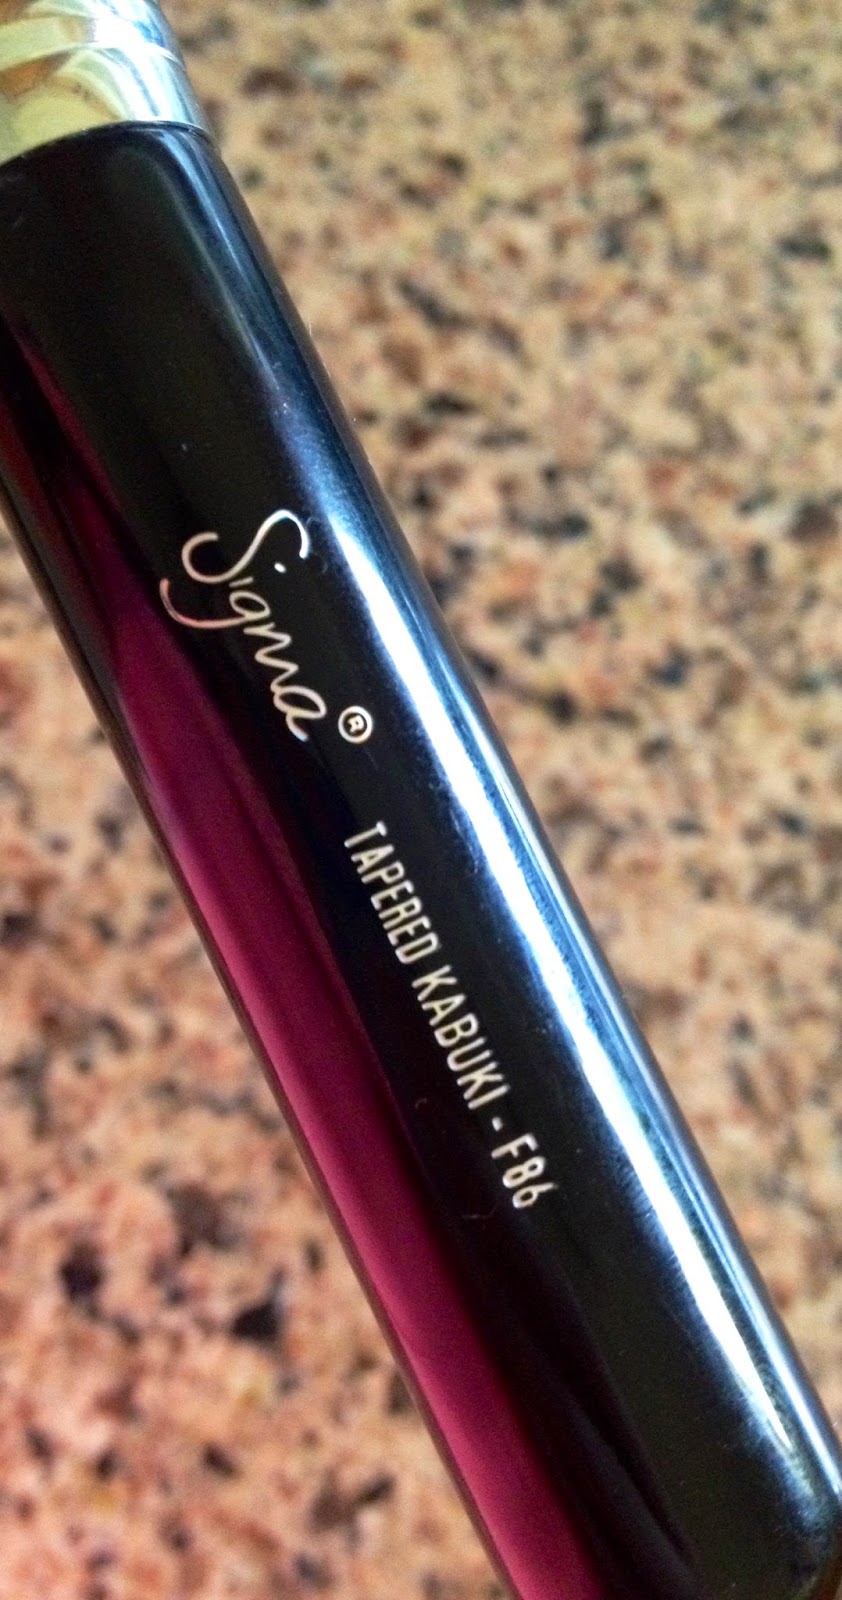
These two foundation brushes help to absorb the excess product. These are the F80 and F86 foundation application brushes. Each of these are $21.00; I know that is on the expensive side but these should last you years with the right care (there are often discount codes featured on the YouTube channels of Jaclyn Hill, Carli Bybel, and SMLx0)! These brushes are made with Synthetic Sigmax bristles. I got them a few months ago and, as you can see, they are still in great condition. These pictures were taken right after washing and drying them, and they still look brand new! 
The Sigma F80 Flat Kabuki brush is used to apply foundation to the flat parts of your face such as forehead, chin, cheeks, and nose. The brush is so soft you will want to brush your face with it all day If you are wanting to try something from Sigma I would recommend trying this brush first. I have tried the flat foundation brushed and found that I got a much smoother application with this flat top brush. I wouldn't recommend using this for applying powder, it is made to apply cream and liquid makeup products. 
The F86 Tapered Kabuki is made for areas of your face that are difficult to cover with the flat top kabuki such as they eye area. I really used this brush for highlighting my lids and under-eye area, middle forehead, nose and chin. This brush is also made to apply cream and liquid products. The shape of this brush is perfect for applying product in the eye area. This brush is also very dense and helps to pick up the excess product so your makeup is never cakey (for a no-fail under eye application make sure to brush back and forth to get in all those pesky creases)!
I would absolutely recommend these brushes to anyone. It is almost effortless to get the perfect flawless foundation with these two. If you aren't confident in trying a foundation brush just watch one of Jaclyn's videos. She, along with a lot of other makeup gurus love the Sigma brushes, and the F80 has been a top seller on Sigma since it's release! 
Have a great day everyone! This post is not sponsored. 
http://instagram.com/chelseeparker77

No Curling Iron Curls With Sea Salt Spray

Save your hair!
I am constantly fighting with my hair in the hot summer weather. My hair becomes more damaged with all the sun combined with heated tools like my straightener and curling irons. I recently got a sea salt spray and wanted to give it a try! I experimented with this no curling iron curl today and it turned out great! Keep in mind that I already have wavy/curly hair, so this may turn out different with straight hair (you can try more twisted braids in smaller sections)!
First I washed my hair and applied protectant product and oil to keep my hair smooth and shiny. Then I split my hair into two equal parts. With those two parts, split them again in two pieces. Twist the two pieces in separate directions (I twist the hair closest to my face away from my face).
It's really hard to explain this part! These are twisted braids. Use the two pieces of hair on one side and twist them around each other. Try to keep them twisted tightly. This can take a few tries to get right. If the curls aren't twisted in opposite directions the braid will come undone. Tie with small elastics. If the braids aren't staying twisted you can put a few elastics all the way down the braid (yes these look silly, and I was lucky enough to be seen in them). 
I let these air dry for a bit. Then I take the blow dryer to them until they feel fairly dry. 
Optional: When they are mostly dry you can clamp a straightener on them in sections all the way down the braid; hold the straightener just long enough for the hair to get warm. Repeat twice or more. 
http://www.ulta.com/ulta/browse/productDetail.jsp?productId=xlsImpprod3120617&categoryId=cat120026

Now the fun part! Take out the elastics and run your fingers gently through the hair. I flipped my hair a few times for some volume. Then I applied this amazing texturizing sea salt spray called Beach Babe! This makes your hair feel like you have spent a day at the beach, but without all the sand in your pants. This is by NYM, Not Your Mother's and is infused with dead sea salt and sea kelp. It smells amazing! Spray a few times through out hair and scrunch. 
http://www.ulta.com/ulta/browse/productDetail.jsp?productId=xlsImpprod3120617&categoryId=cat120026
This is only $5.99 at Ulta or drugstore. Click image to purchase


This is how it turned out! Soft, bouncy curls ready for summer sun (or the beach if you're lucky enough)!
Give it a try and tag #prettyandpt in your pictures! Let us know how it works for you! This post is not sponsored. 
http://instagram.com/chelseeparker77

My Healthy Dose of Caffeine

Alright, who doesn't love a good Starbucks drink?
The downside is that most are loaded with calories and lots of sugar. I finally found my better fix with Starbucks Refreshers!
http://www.starbucks.com/promo/refreshers
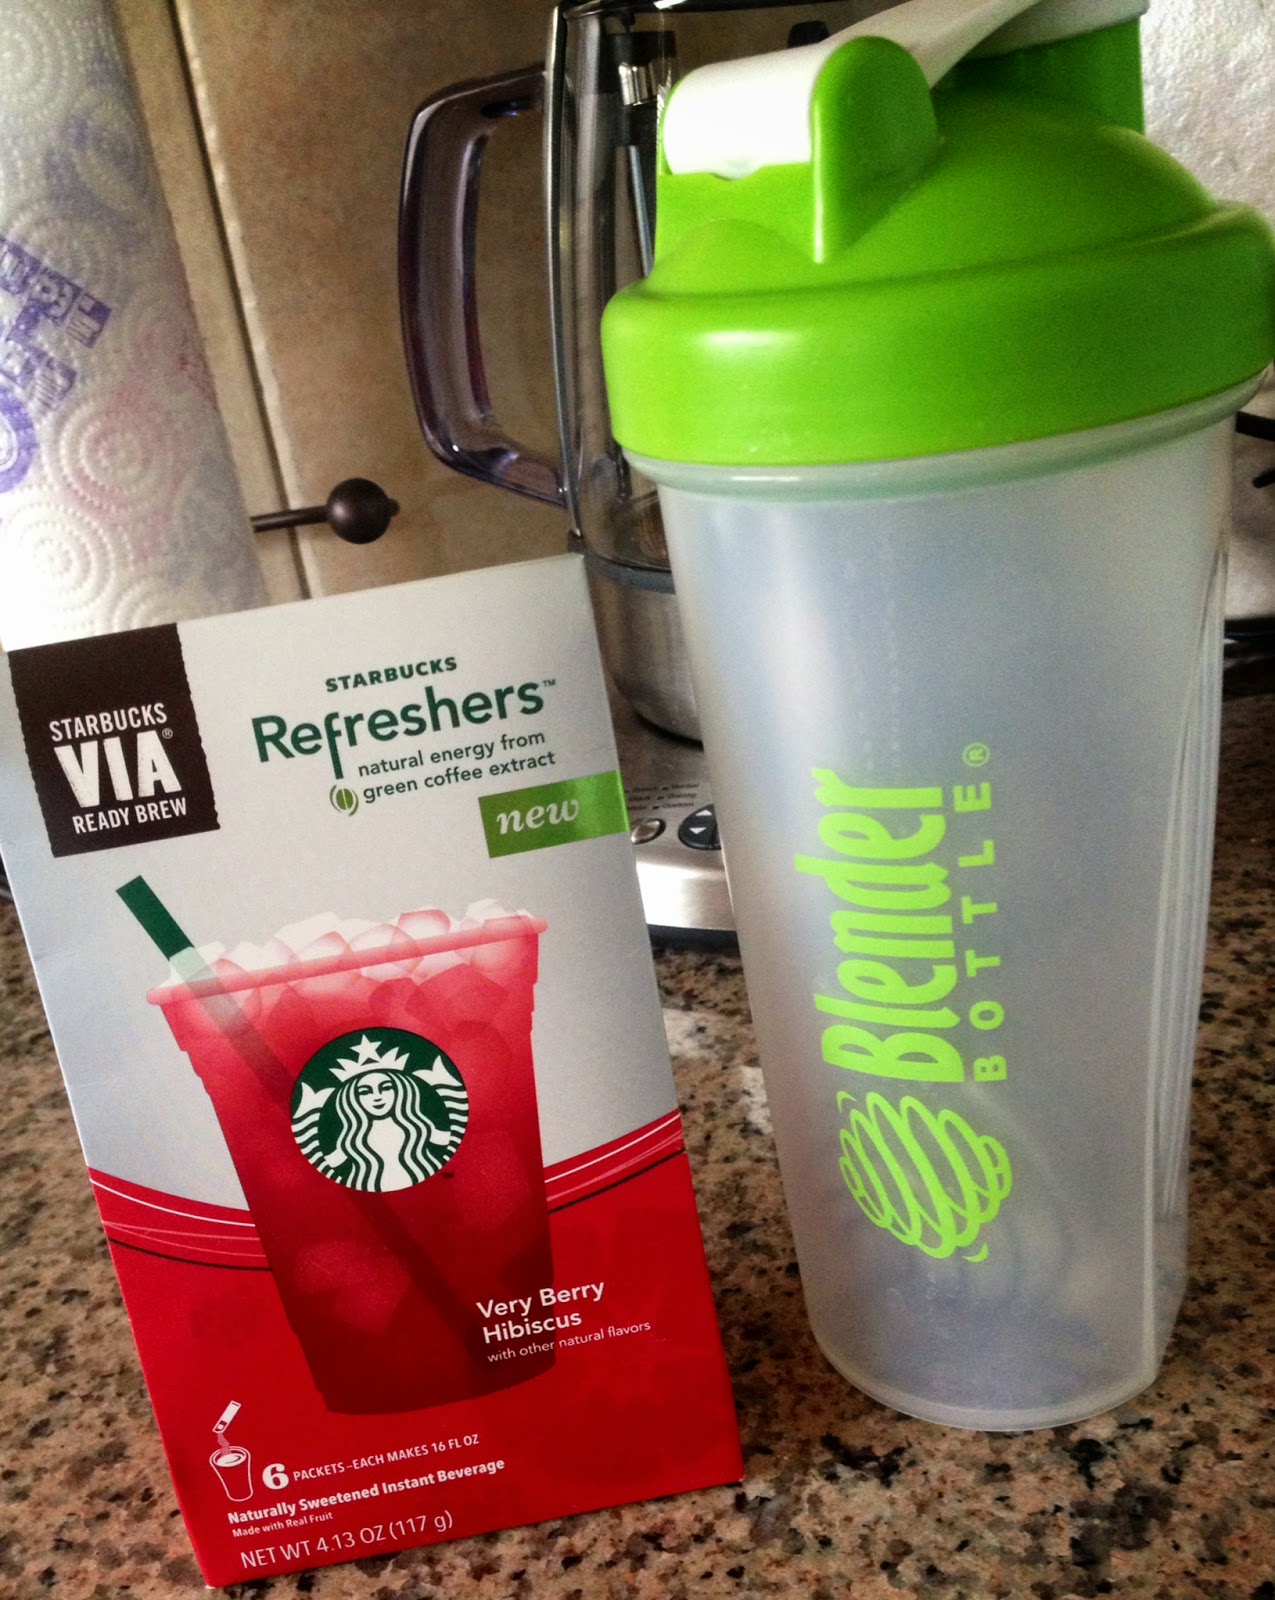
This is the most convenient way to drink a healthy, tasty Starbucks drink. Truly makes you feel refreshed and ready to conquer the day. These 6 packets are $5.95 at Starbucks (so much cheaper than buying the individual drinks) and I can take these anywhere with me. This flavor is Very Berry Hibiscus and I love it! Starbuck's description of the taste is "tangy fruit, sweet ginger and lemongrass." This is a natural energy source with green coffee extract from unroasted coffee beans. This stuff is loaded with Vitamin C and antioxidants. It is made cane sugar, has no carbonation, and has only 70 calories per packet. Click the image to see product on their site.
http://www.starbucks.com/promo/refreshers
So easy to make this, it's great when I am on the go. I just grab my Blender Bottle ($6.49) and fill with 16 oz of cold water, add the packet and shake shake shake! This comes out really sweet, which I like. Simply add more water if you don't like how sweet it's tasting. I drink this on days where I know I'm going to have classes all day until late at night and I am going to need all the energy I can get. I'll drink this in the afternoon so that it's really working about that time when I'm wanting to take a nap instead of do my homework
Be aware that this acts as a diuretic and will make you have to urinate a lot for a bit after drinking it!
http://www.starbucks.com/promo/refreshershttp://www.starbucks.com/promo/refreshers
It comes in 6 of these nice little packets you could easily stick in your purse or bag for work, school, traveling, you name it! This is the only flavor of the VIA Refreshers that I have tried. They also come in other delicious flavors like Cool Lime, Strawberry Lemonade, Valencia Orange, and Iced Coffee packets for you coffee lovers. They are available at Walgreens and Albertson's that I have seen if you don't happen to have a Starbucks nearby.
I absolutely love this stuff. What more could you ask for in a healthy energy, low calorie, tasty Starbucks drink! If you give it a try let us know what you think! 
These drinks also come in carbonated bottled form, available at Starbucks and Albertson's in the delicious flavors of strawberry lemonade, raspberry pomegranate, and blueberry acai.  This post is not sponsored.
http://instagram.com/chelseeparker77

Coconut Oil for Your Skin

Need a luxurious skin remedy that won't put a hole in your wallet?  
http://www.walgreens.com/store/c/spectrum-essentials-organic-coconut-oil-unrefined/ID=prod6198848-product
This has lasted me so long because while I do use it on my hair, I use it mostly for my skin. This works its magic on sunburns, rashes, dry and sensitive skin, and even oily skin like mine. The big misconception for people with oily skin is that you should strip the oils, but this will irritate your skin and cause it to produce more oil. I use this on my skin every night in the winter and in the summer when I feel my skin needs some love. I got this at Walgreens for $10 in the vitamin isle (not the cooking isle). It is available on Amazon for $12.38 and free shipping!
What you need to look for and why: Organic, extra virgin, all natural, and unrefined is best for skin and hair, it's coconut oil in its pure form and it will have the actual delicious smell of coconuts (It's personal preference really, if you don't like the smell or feel you'd rather have refined then you can usually find refined in the cooking section)! There are no chunky bits in this Spectrum brand. It is so smooth and melts at above 76 degrees Fahrenheit. It doesn't need to be refrigerated. To heat it up in the cold months of winter I just fill up my sink with hot water and let this tub sit in there for a few minutes. I prefer not to microwave because I would always be reheating and reheating this tub and stripping it of some of its nutrients. This stuff melts very fast!
First of all, you want to be very careful when using tubs to wash your hands before dipping into the tub. You don't want this to become a pool of germs that end up causing negative effects on your skin. Or, you can simply apply it with a cotton pad or Q tip for spot treating. On nights like tonight I was feeling generous and dipped one side of the cotton pad in and dabbed all over my face (a little goes a long way). Do not dip the same Q tip or cotton pad back into the tub either!
I have never had a problem using this around my eye area but avoid the area if it makes you nervous. I do apply moisturizer and let it dry before applying this, but you can use this alone as a moisturizer if you like.
At first you may feel like your skin is way too wet but you will wake up and, because coconut oil is so amazing and natural, your skin drinks it right up. For spot treatments on acne that is in the healing process, I dip the Q tip into the tub and just apply to that single area. I have noticed my skin healing much faster when using this and also helping with redness and irritation. It is so gentle and soothing. Sometimes I even apply this to my body's dry areas like the elbows, feet, cuticles, anywhere!
So find your favorite use or do them all! Whether it's for cooking, skin, hair, bath (or my upcoming post.. as eyelash and eyebrow serum), you need this in your life!

Let us know if & how you use coconut oil! Enjoy! 
http://instagram.com/chelseeparker77